Monday, November 1, 2010

Stick Grip.

I just recently purchased a B-8 style stick grip through e-bay for not a lot of money. These things usually go for up to $300 used. Because mine was damaged and missing a button I picked it up for $70.

It was pretty rough when I got it. The trigger was cracked and falling appart, the hand rest on the right hand side was mostly missing, one button was missing and another I found out was a normaly closed/push to open.

A little mending and a couple of new switches and it is almost like new. The internal trigger switch also disintegrated, so I have ordered a limit switch that I will retrofit into the handle.

Thursday, October 28, 2010

Chapter 19 - Wings - Part 9

Last Saturday Marc Oppelt ( http://sites.google.com/site/garagerocket/ ) stopped by and helped me hot wire the left wing. For the most part the whole operation went very smoothly. Sunday night I bonded the foam cores to gather to make up the 5 individual cores now ready for jigging and shear web. The second wing is now well on its way to completion.

Thursday, October 21, 2010

Chapter 19 - Wings - Part 8

The right wing has been put away for some time to clear the shop for preparations for the left.

I have not completed the right wing, most notably the aileron and glassing the wing root area.

Before beginning work on the left wing I made new wing jigs that I just finished off today. My first wing jigs were made with crappy plywood and I was just not happy with them. I purchased a better grade plywood and I am a little happier with the new jigs.


Another development with the project occurred last weekend when I picked up a used Varieze cowl. While the cowl is beautifully made it will not work, at least without a lot of modifications. It was a gamble that may not have paid off. Still it may work for me. I will hold on to it until the time comes to decide what direction I should take with the cowl.

I will hot wire cut the left wing as soon as I can secure some assistance.

Wednesday, September 8, 2010

Chapter 19 - Wings - Part 7

During the month of August more work was completed on the first (right) wing.

After the shear web and hard point layups were complete, I joined the leading edge cores to the wing and re-installed the forward wing jigs.

Next leading edge wing root was trimmed to 90 degrees to the shear web as indicated by the black line.


Here is the foam core after trimming. Also you can see the aluminium hard point prior to glassing the wing.


Here is the bottom of the wing after laying up the lower spar cap and ready for glassing.


Local canard builder Marc Oppelt is seen here after the bottom of the wing was glassed. Marc is building a very interesting Long-EZ derivative here in Olympia. His project has a slightly larger fuselage and he intends to install a V8 auto engine. If my plane makes it to 10, Marc's will go to 11. Seriously though, Marc has been a great help with both the top and bottom skin of the wing. I believe that these layups are the biggest in the whole project and with Marc's help they went very smoothly. In addition Marc has been really resourceful in finding alternate and local suppliers of materials and parts. Recently we both stumbled upon a supper deal that provided me with enough foam to complete my left wing and provided Marc a great deal of foam for his project and landing gear parts. Having another builder to help is golden, you both learn a little and the job goes quicker.


Here is the right wing after bottom skinning. Peel ply is applied to prep for winglet installation.


After skinning the bottom of the wing I flipped it over an began preparing for the top skin. Here is pictured the process for removing the foam "tail" and removing the peel ply for a glass to glass binding on the trailing edge.


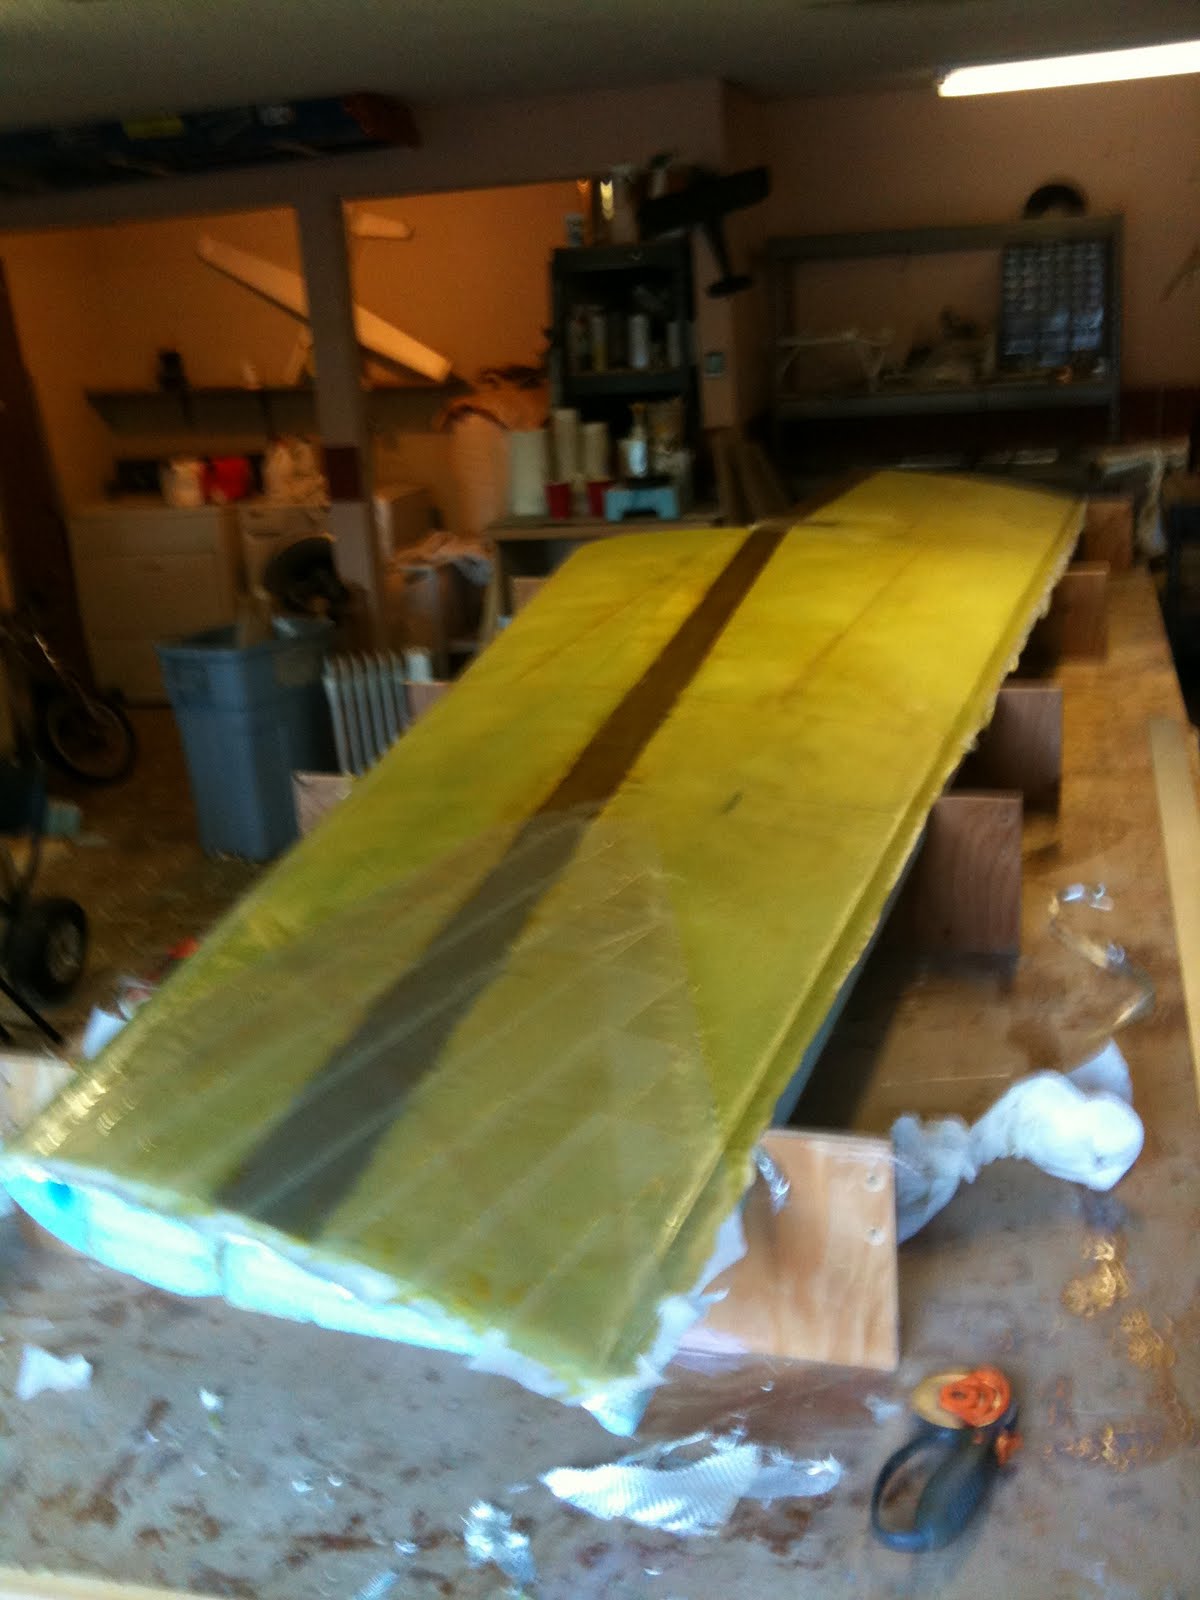
Marc again stopped by to skin the top of the wing. All went well, but I was rushing to prep for the skinning and forgot to rout out the rudder cable channel until after we had smeared micro slurry over the wing (DOH!!). Not a big deal though. We just ran the router through the foam over the micro, made mess of my Dremel tool, but all turned out fine. Again, thanks to Marc O for his assistance.

Monday, August 9, 2010

Chapter 19 - Wings - Part 6

Yesterday I finally got back to some real work on the right wing. I laid up the shear web. I did run into a couple of minor road blocks however.

First of all, I started to late in the day. As usual the layups took longer than I expected. I spent 6 hours cutting glass, mixing epoxy and wetting out the plies. Because of this I had to stop short and didn't lay up the reinforcing lay ups wher the aluminium hardpoints are installed. Instead I peel plied the areas for later.

Also I failed to recognize that I was running low on peel ply. The entire shear web should be peel plied after the glass is laid up. Because I was low on peel ply I only applied the dacron tape to the areas that the spar caps will be bonded in later steps. The forward face of the shear web is bonded to the forward foam blocks with micro and does not require such a super strong bond.


Sunday, July 18, 2010

Chapter 19 - Wings - Part 5

Found some time today to do a little more work on the wings.

I finnished routing out the wing attachment depressions with my Dremel tool and sandpaper. These depresseions will later house the wing attachment nuts and allow space for a ratchet. I followed this with 2 layers of bid fiberglass. I will knife trim the exess glass tonight after the expoxy has set up enough.


Next I finnished fabricating the two LWA4s and LWA6 for this wing. These were then treated with Alumiprep and Alodine.


Finnaly I bonded the LWA6 with bondo. The smaller LWA4s will be bonded in place after I have trimed the wing attach depressions of the excess glass.

Monday, July 12, 2010

Intermission

I have not had a lot of spare time these last few months. Washington state's fiscal year ends on June 30 and this time of year is especially busy for me at work.

I just got back from a trip to the Arlington airshow and saw some really cool aircraft and I am anxious to continue my own project.

Thanks to all who check in on my build blog on a regular basis.

More build updates to come soon.