Saturday, May 14, 2011

Chapter 19 - Wings - Part 19

Since my last update I have completed installation of the right wing aileron and nearly completed the left wing aileron.

Today Marc and I loaded the wings and center spar into his truck and headed down the street to my work supervisor, Pete's, house, where he has a nice 3 car garage. We proceeded to level the wings on 6 of the cheapest crappiest saw horses I have ever used. I purchased 4 of them a couple of days earlier. Coincidentally Pete also had two of them on hand as well.

Finally after dropping the center spar on the floor of the garage once, we managed to get the wings set up pretty stable and level. We used standard bubble levels, Marc's laser level and a water level to ensure the wings were set up correctly.

We then proceeded to match drill through the center spar into the wing attachment points. I started out using the spot face tool as described in the plans, however that was a very slow process and I managed to burn up my drill. We then switched to a 5/8" bi-metal hole saw that I purchased today as advised by Marc, who probably did a lot of research into the procedure than me.

In the end all went quite well and I am very happy with the results.


Monday, March 28, 2011

Chapter 19 - Wings - Part 18

Last week and yesterday I finnished installing the wing root aileron hardware.

Pictured here is the infinity spherical bearing prior to bonding the click bond fasteners (seen bolted to the bearing houseing). I did make sure to sand the fiberglass and clickbond surfaces prior to flox and glass.

Pictured here is all of the wing root aileron hardware installed except for the pushrod and rod end bearings between the bellcranks.

Also yesterday I layed up the two plies of bid glass to close out the aileron ends. Today I cleaned up the edges and reinstalled the aileron.


With the left wing aileron work complete for now, I turned my attention to the right wing. Pictured here is the right wing aileron liberated from the wing.

Sunday, March 6, 2011

Chapter 19 - Wings - Part 17

Today I completed installation of the aileron on the left wing.

The next step after removing the protective tape from the ailerons (see step 16) was to apply small dabs of bondo between the hinge and aileron. I used some small pieces of foam rubber to hold the hinge up against the aileron while the bondo set. This was a somewhat frustrating procedure as the plans do not explain well how to do this. I actually tried to complete this step last week and I gave up for the night.

Next I unbolted the hinges from the wing, removed the aileron and drilled holes through the hinge for rivets.

After test fitting the aileron on the wing and removing it again, I temporarily installed control hardware. The hardware store machine screws will be replaced with AN hardware soon.

Pictured here is the universal joint that connects the torque tube to the aileron.

Pictured here is a more complete view of the aileron control hardware including the spherical bearing (blue). Also in this photo, if you look close, you will see that I have yet to close up the end of the aileron with bid glass.


Monday, February 21, 2011

Chapter 19 - Wings - Part 16

More work today on the left aileron and wing.

Pictured here I have clamped a straight edge on the wing to guide me while cutting out the hinge notches on the top skin of the wing. This ensured that the hinges were all in line with each other and inset the proper amount.
Pictured below is the inboard most hinge with clickbonds test fitted. The plans call for a machine screw and a nutplate to be riveted to the hinge. The ckickbond fasteners are simpler to install and will have a seamless appearance then the wing if finished. This hinge happens to be 8" with three fasteners, the middle and outboard are 6" with two.  
Pictured here is the middle span hinge with showing the clickbond fasteners protruding through the top skin and hinge.
And here is the inboard hinge clickbonds floxed in place with two plies BID. The hinge has a protective clear tape to ensure that any flox or epoxy will not bond the hinge to the clickbond or wing.


Saturday, February 19, 2011

Chapter 19 - Wings - Part 15

Work continued on the left aileron today. I completed fabrication of the A-2 and A-5 brackets.

Next I resessed the forward face of the aileron to mount the brackets flush with the foam surface. These were then bonded in place with micro along with the 9"x3/4" A-10 torque tube.


Wednesday, February 16, 2011

Chapter 19 - Wings - Part 14

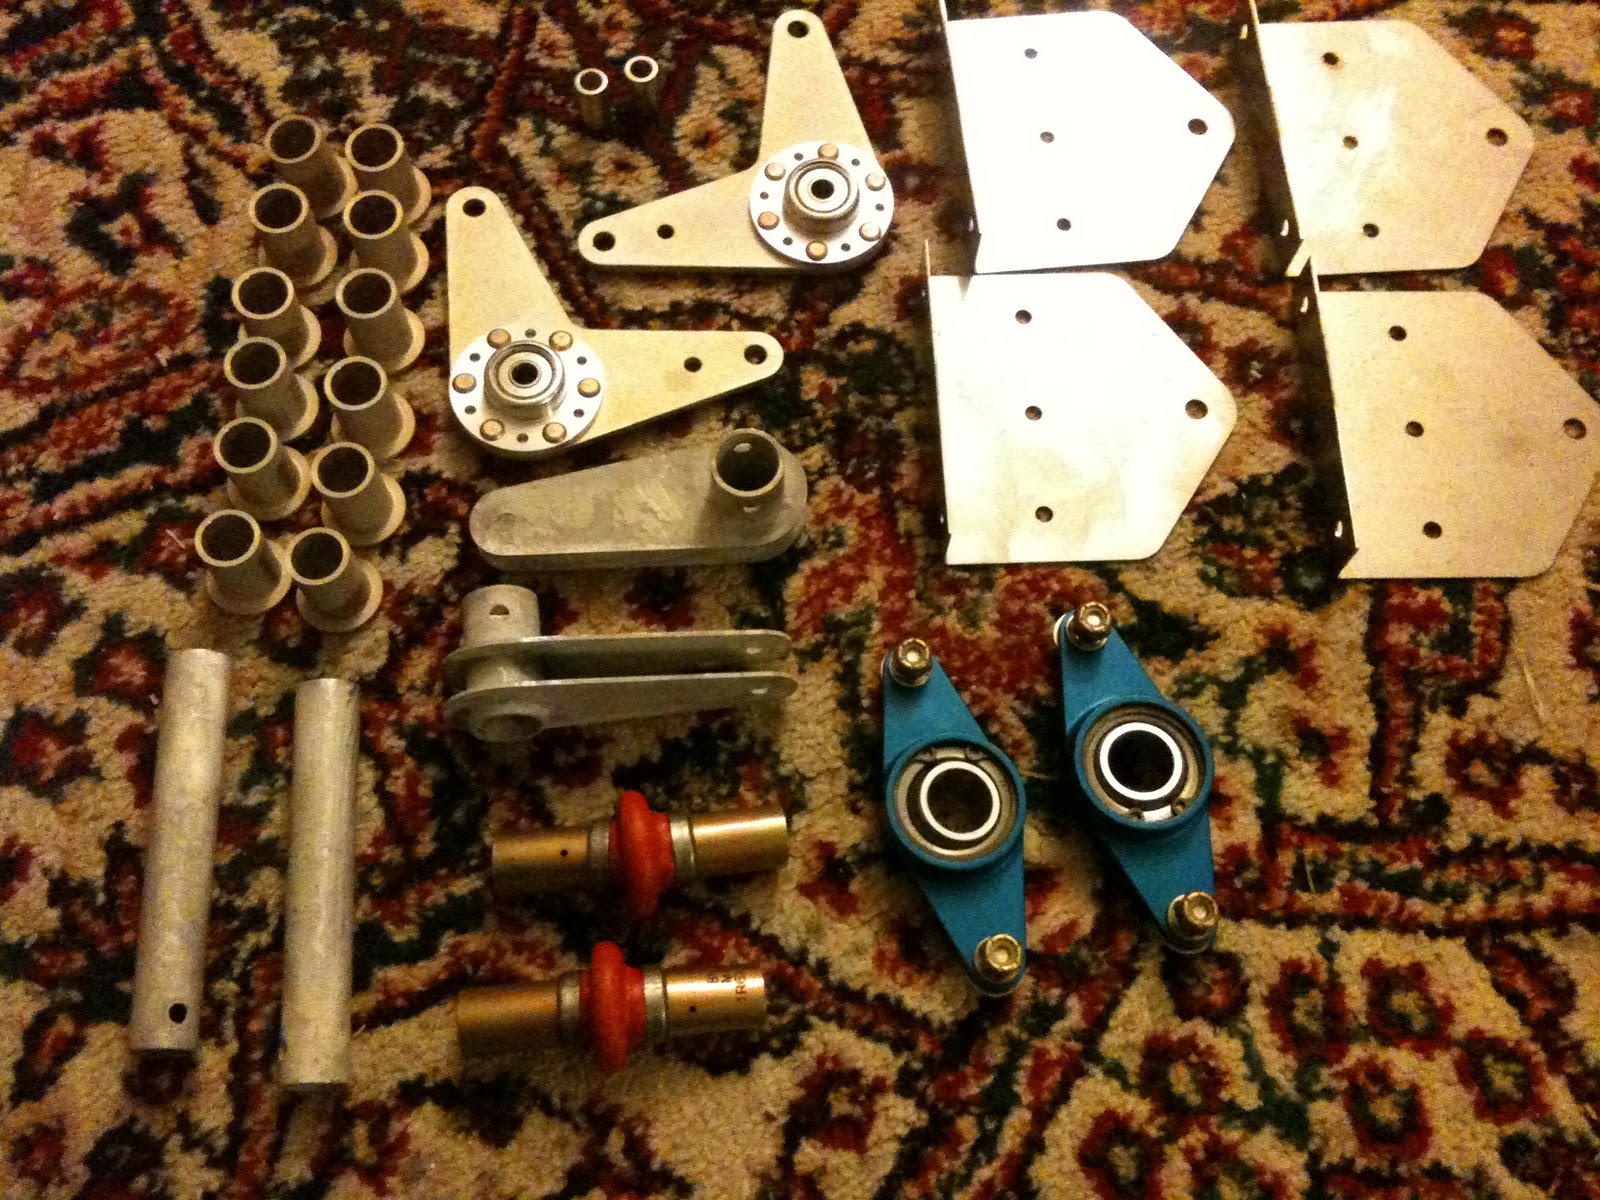
Monday I was greeted at my front door by a box from the Cozy Girrrls containing many pieces of wing hardware.

Also earlier, last week, I received the wing root spherical bearings from Infinity Aerospace (the blue bearings in the photo).

And as luck would have it, another builder was selling extra universal joints and I managed to pick them up for a little under Aircraft Spruces price.

This weekend I will attempt to complete the left aileron and begin work on the right.

Thursday, February 10, 2011

Chapter 19 - Wings - Part 13

A couple of weeks ago I began working on the left aileron. I started by carefully ripping down a scrap of lumber to create a 120 degree guide for the Fein tool while cutting the aileron from the tip wing skin.

Pictured here is the top wing skin after cutting. This part of the operation was done correctly. Unfortunately cutting the aileron from the bottom skin didn't go as well. I made a stupid mistake when transferring the measurements from the plans to the wing and then cut too much from the wing. I was really upset with myself for doing that, but after some calm planning I realized that the fix was not going to be a big deal at all. I glassed the aileron back onto the wing (underside only), let it cure and re-cut the aileron correctly, all was good in the universe again. Unfortunately I did not take the time to take photos of this process.

Pictured here is the left aileron with the 7/16" steel rod counter weight bonded in place.

Pictured here is the aft wing rib that is laid up with 3 plies BID glass into the area the aileron was removed.

Aileron control hardware should be arriving by UPS tomorrow. I hope to have this chapter wrapped up by then end of this month or early March.