Monday, February 21, 2011

Chapter 19 - Wings - Part 16

More work today on the left aileron and wing.

Pictured here I have clamped a straight edge on the wing to guide me while cutting out the hinge notches on the top skin of the wing. This ensured that the hinges were all in line with each other and inset the proper amount.
Pictured below is the inboard most hinge with clickbonds test fitted. The plans call for a machine screw and a nutplate to be riveted to the hinge. The ckickbond fasteners are simpler to install and will have a seamless appearance then the wing if finished. This hinge happens to be 8" with three fasteners, the middle and outboard are 6" with two.  
Pictured here is the middle span hinge with showing the clickbond fasteners protruding through the top skin and hinge.
And here is the inboard hinge clickbonds floxed in place with two plies BID. The hinge has a protective clear tape to ensure that any flox or epoxy will not bond the hinge to the clickbond or wing.


Saturday, February 19, 2011

Chapter 19 - Wings - Part 15

Work continued on the left aileron today. I completed fabrication of the A-2 and A-5 brackets.

Next I resessed the forward face of the aileron to mount the brackets flush with the foam surface. These were then bonded in place with micro along with the 9"x3/4" A-10 torque tube.


Wednesday, February 16, 2011

Chapter 19 - Wings - Part 14

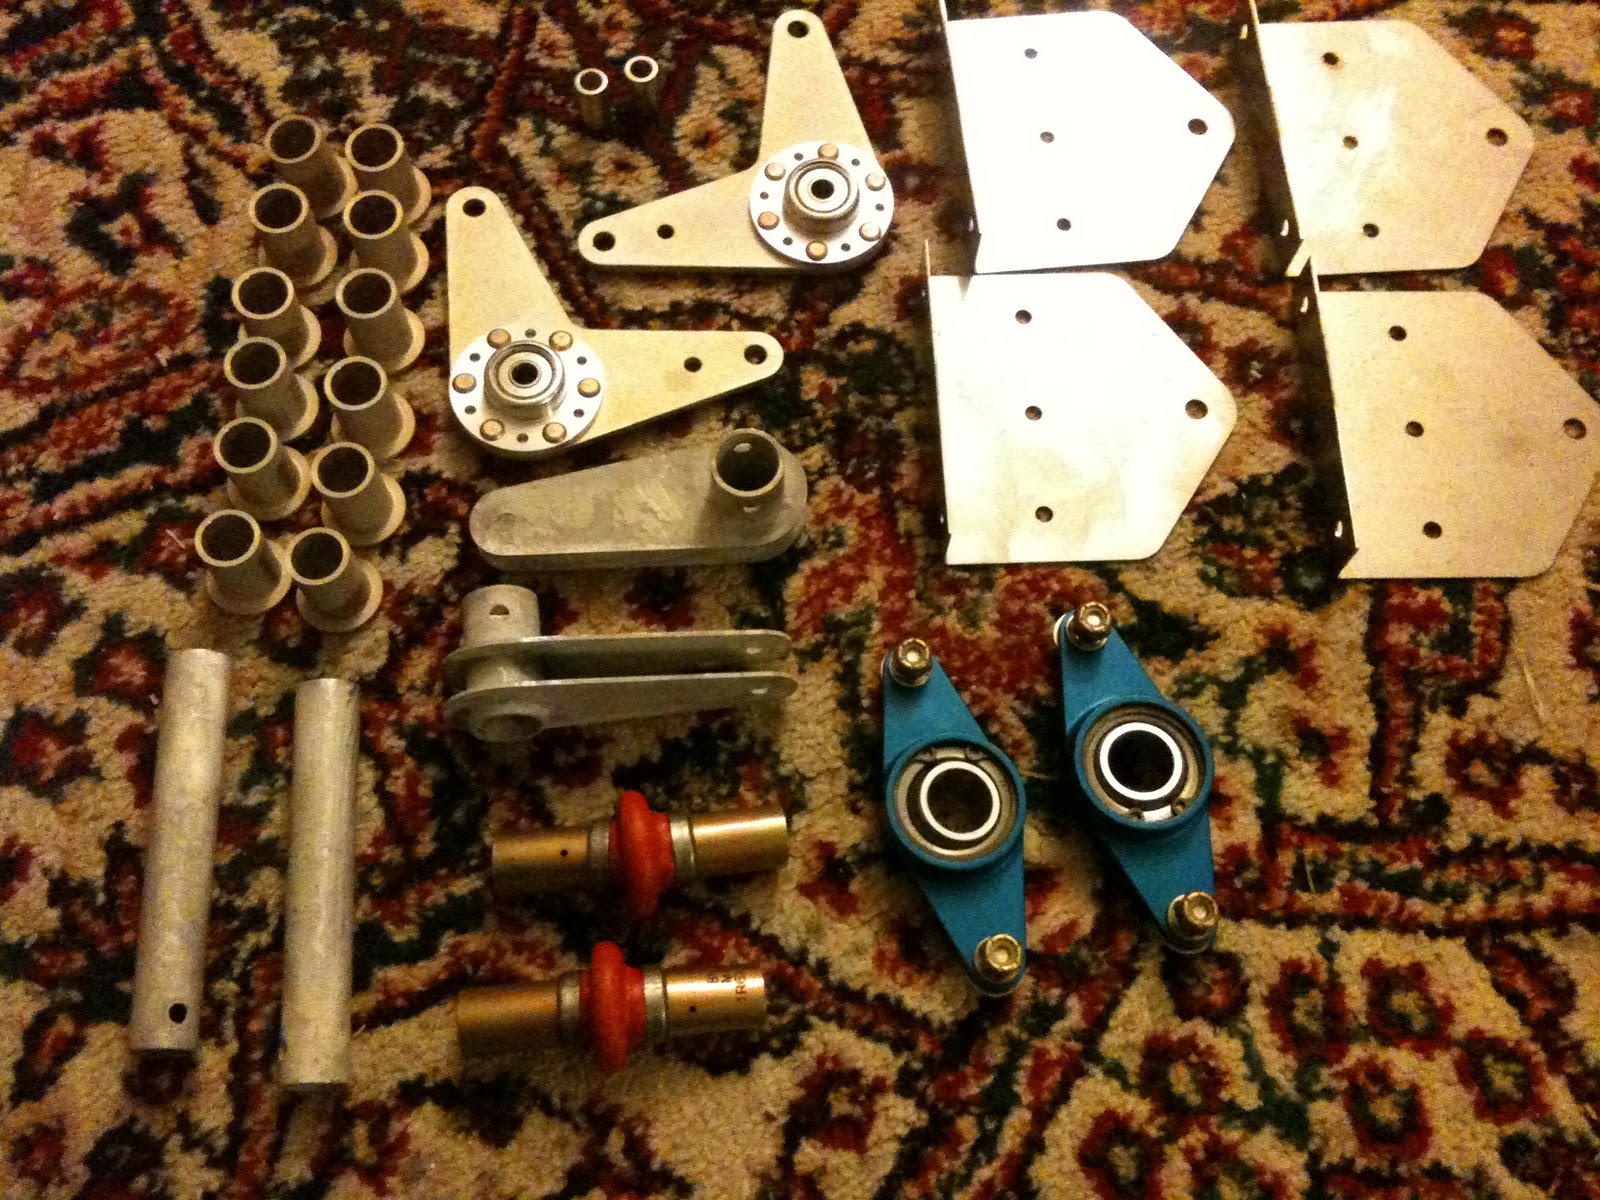
Monday I was greeted at my front door by a box from the Cozy Girrrls containing many pieces of wing hardware.

Also earlier, last week, I received the wing root spherical bearings from Infinity Aerospace (the blue bearings in the photo).

And as luck would have it, another builder was selling extra universal joints and I managed to pick them up for a little under Aircraft Spruces price.

This weekend I will attempt to complete the left aileron and begin work on the right.

Thursday, February 10, 2011

Chapter 19 - Wings - Part 13

A couple of weeks ago I began working on the left aileron. I started by carefully ripping down a scrap of lumber to create a 120 degree guide for the Fein tool while cutting the aileron from the tip wing skin.

Pictured here is the top wing skin after cutting. This part of the operation was done correctly. Unfortunately cutting the aileron from the bottom skin didn't go as well. I made a stupid mistake when transferring the measurements from the plans to the wing and then cut too much from the wing. I was really upset with myself for doing that, but after some calm planning I realized that the fix was not going to be a big deal at all. I glassed the aileron back onto the wing (underside only), let it cure and re-cut the aileron correctly, all was good in the universe again. Unfortunately I did not take the time to take photos of this process.

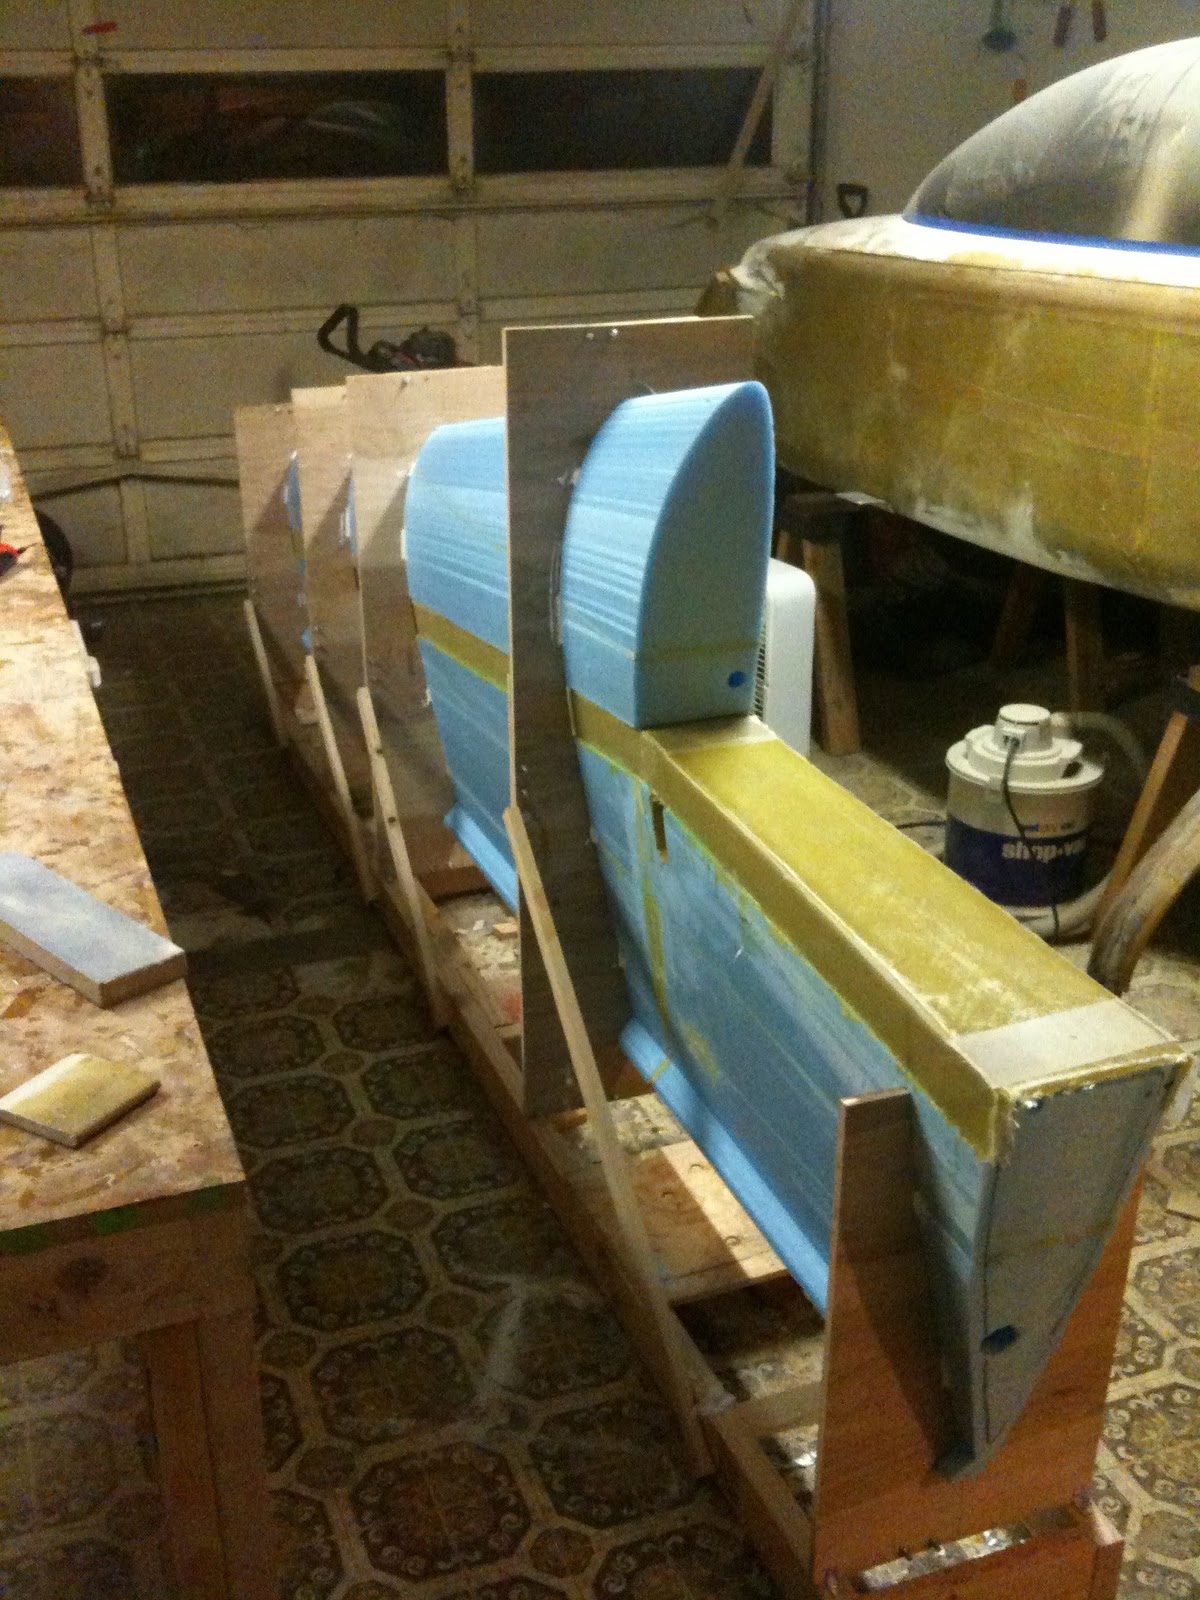
Pictured here is the left aileron with the 7/16" steel rod counter weight bonded in place.

Pictured here is the aft wing rib that is laid up with 3 plies BID glass into the area the aileron was removed.

Aileron control hardware should be arriving by UPS tomorrow. I hope to have this chapter wrapped up by then end of this month or early March.

Monday, January 10, 2011

Chapter 19 - Wings - Part 12

A few weeks ago I layed up the top spar cap of the left wing. Unfortunatly I received a phone call from my brother just before laying up the final 20" ply of spar cap uni. I spent a few to many minutes discussing Christmas plans and the spar cap epoxy started to gell. I layed on the final 20" ply, but it refused to wet out completely. I finaly gave up tring to save that ply and just let it cure completely.

After final cure I sanded off all of the uni roving that didn't wet out and applied a 22" piece over the repair area. 

Here is the section cureing just after the repair. Looks a little sloppy, but its not as bad as the picture lets on.

Here is the left wing after top skinning, again with the help of Marc Oppelt. This took us about 3 hours. Practice has made these large layups quicker. Recently there has been a friendly debate on one of the online forums about the value of using an epoxy pump. My opinion is that those expensive pumps are really neat, and probably worth the money, however even with the largest of layups like this top wing skin, the use of a digital scale and cheaper west system pumps works just fine. 


Yesterday I used the dremel tool to rout out 0.7" of foam from the forward inboard wing rib area, and today I layed up the three plies of bid glass. I now have two wings at this same stage.

Monday, December 6, 2010

Chapter 19 - Wings - Part 11

Yesterday some time was spend preping the bottom wing for glass. This included sanding down the lower wing foam in the spar cap vicinity to give a nice smooth transition to the spar cap. The hotwire process left the sparcap a little too deep in places. I will need a little extra mico fill to correct the wing contour at the finnish stage. The plans describe this situation so I am not concerned.

Marc Oppelt stopped by this afternoon and helped me glass the bottom of the left wing. Today was yet another example of the value of having another builder assist, It's almost like having two of yourself. I spend a lot of time just mixing epoxy while Marc wetted out the glass.

I may get up early tomorrow morning to knife trim the glass. If I do I will also spread dry micro into the trailing edge joggle. Then it will be time to reinstall the lower jigs and flip the wing over for the top skin.


Sunday, November 28, 2010

Chapter 19 - Wings - Part 10

Early this month I continued work on the left wing. I did things a little different this time. I made a 2x4 frame that I then layed on the floor and leveled with shims. This was much easier than bonding each individual jig to the floor.

After making sure the 2x4 frame was a level as possible, I then attached the jigs to the frame with small angle irons and screwed in diagonal bracing.

When everything was ready to go it was time for the shear web. Local aircraft builder Marc Oppelt stopped by and helped me layup the shear web and install the forward wing cores. Having another hand did help make the job quicker, however the process was still long. Some builders have recomended laying up all plies for the shearweb on a flat surface on plastic and then transfering the whole mess to the cores. I just couldn't picture how this would work, with making sure the web was trimmed correctly. However after further though I think I understand now how this could be done and save time. Also another change. Marc brought by some resperators that he had handy. In the past I had sort of gotten used to the odor, however with the risk of becoming sensitive to the expoxy, it is good practice to limit exposure to the fumes. The masks worked great at filtering out the fumes, but were a little uncomfortable. I will wear a mask now for all large layups. 

My girlfriend Serena helped me move the wing from the floor to the workbench on friday and today I layed up the bottom spar cap.